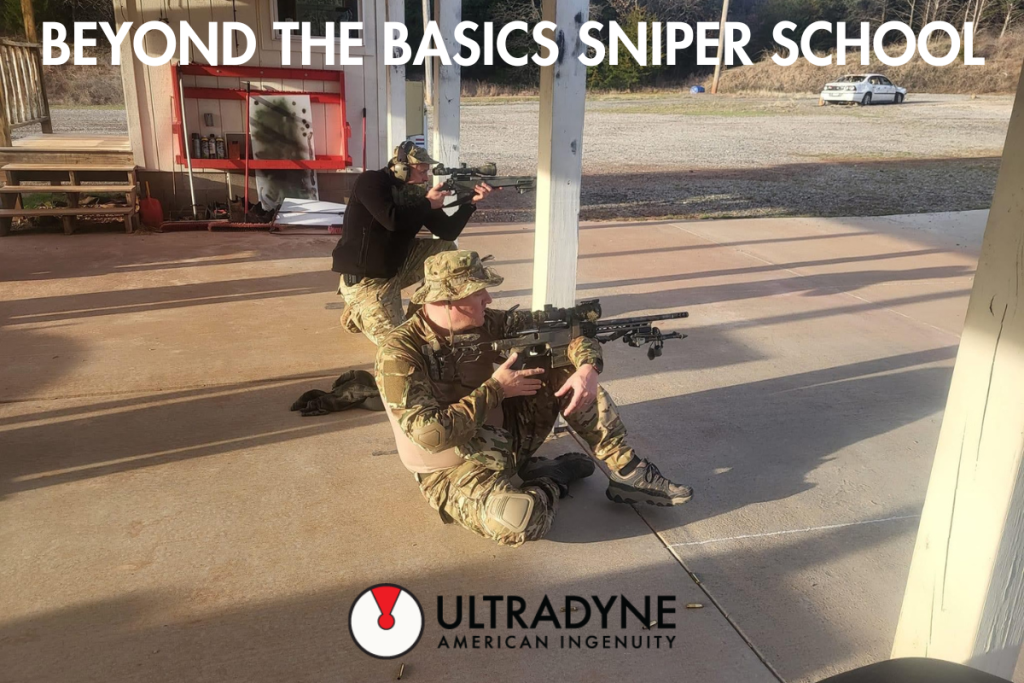
Beyond The Basics Sniper School
Submitted by Kyle Preston on 3/18/24
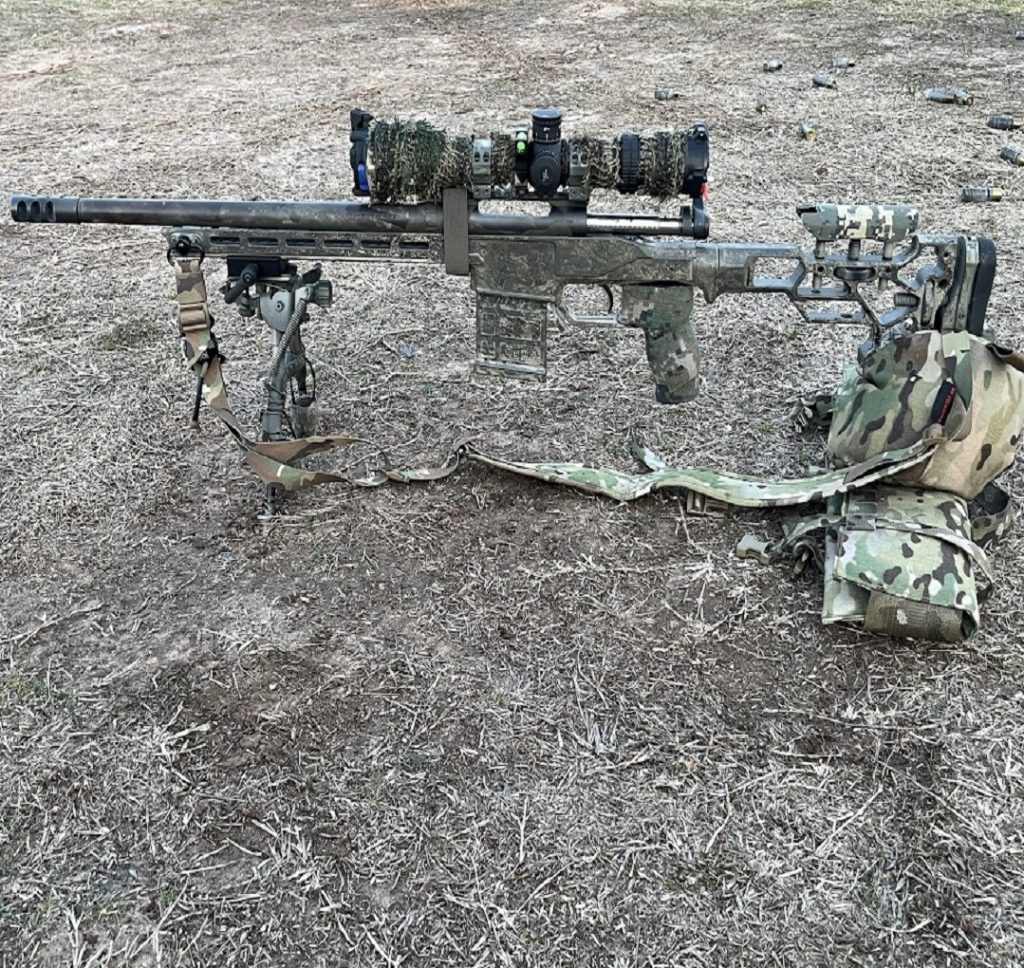
Gear Used:
Savage Model 110 16.1” running 2480 fps
Ultradyne Chassis
Ultradyne Grip
MDT Stock
Trijicon Credo 2.5-15×42
Magpul Mags
Harris Bi-pod
Two-Vets Tripod (Borrowed)
Over the week of March 11, 2024 I was humbled to be a plank owner to a new class, hosted by a local LE Sniper Team. I was invited to attend the class in January 2024. It was at this time I knew I wanted to upgrade my system. January 2024 I was running a Model 110 Savage in an MDT Oryx chassis. I’d had the barrel cut to 16.1″, threaded with a target crown. Sitting atop the rifle was a Trijicon Credo 4-16X50 mil scope. Having talked to the instructors for the class I knew I was going to be shooting a lot from a tripod and in every position I could imagine, with very minimal from the prone. With this knowledge I set out to find a replacement chassis. In looking for a chassis the first obvious requirement is it had to fit a Savage, which not a lot of companies offer. From there, the next must have was an ARCA Swiss bottom rail, for quick in and out from the tripod and movement of the bi-pod for shooting off different objects. After a few Google searches I found Ultradyne. I researched and researched and researched, as I’m an LEO I don’t make a ton of money so when I choose to spend money I want it to be a one time deal. I contacted Ultradyne about their LEO program, got the discount code and stepped off to order. Once all the components arrived the installation was very simple, thanks to the video. I immediately went out, zeroed the rifle and I was off to the races!
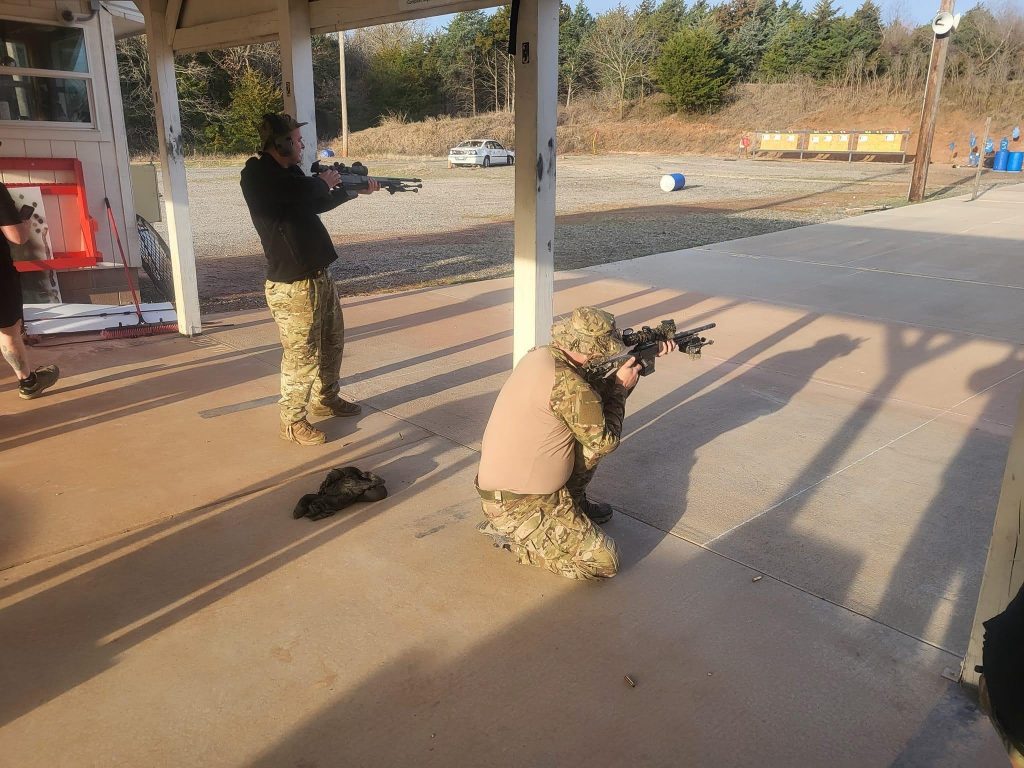
So now you know how I got here, let me tell you a little about the class. This was four days of shooting over, under, through, and around any and everything we could find. We ran loophole shooting, which in this case was shooting through a 2” hole 10 yards from the rifle onto a target that was 450 yards away. We ran multiple position drills, starting with a standing tripod, moving to a high kneeling tripod, and then to a seated tripod position. Each time I would have to dismount the rifle, set it on the ground, adjust the tripod, then remount the rifle. This absolutely would have been more taxing had it not been for the ARCA Swiss rail. Another drill was set up on a modified V-Tac board. We had to shoot 5 shots from a different position on the board, without repeating a single position. Utilizing one of my bags I was able to create soft on hard contact and then use the flat bottom of my chassis to help stabilize and make hits from 200-450 yards. Yet another drill we ran was optimal point blank range. For those not familiar this is a single DOPE on your optic that allows you to go from zero to whatever distance you determine is your rifle’s max point blank range, all without adjusting your scope. Here again, the chassis didn’t disappoint. On calls from the instructor I was able to walk the rifle from 100 yards to about 350 yards with no holds, and with just a few MILS in the reticle I was able to reach 500 yards. But, one of my favorite pieces of knowledge gained was being able to find my gun’s number. Again, for those not familiar, this is a wind value for your rifle where corresponding MILS for wind hold match the corresponding yardage.
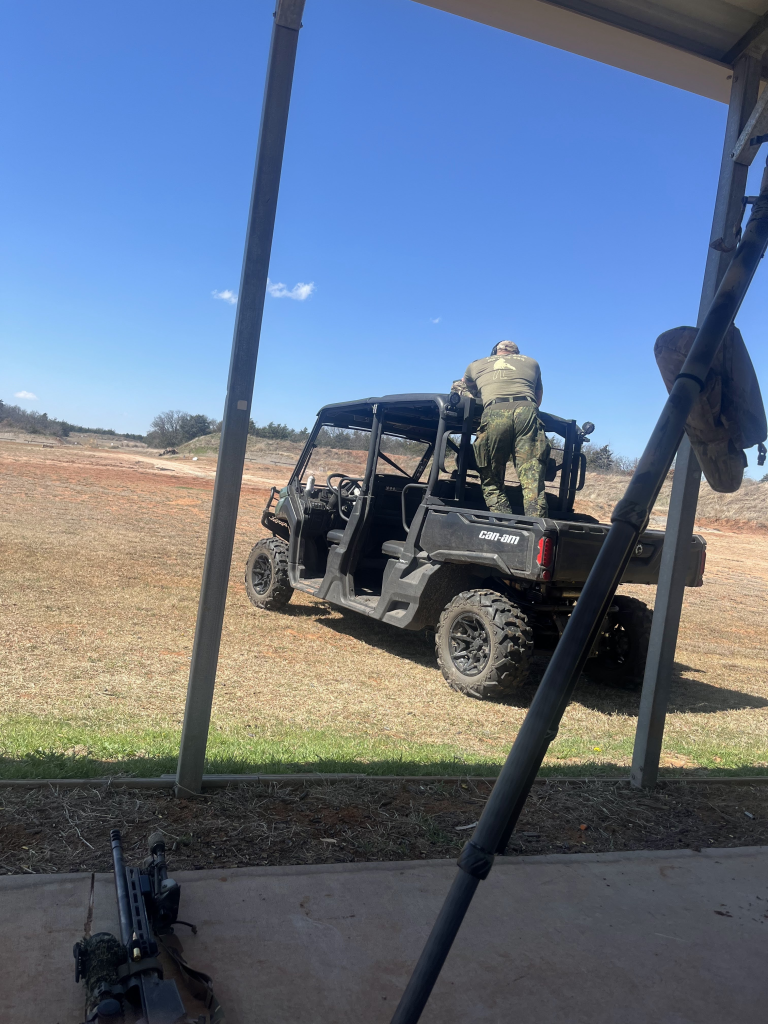
We shot off the top of a four man side by side, simulating overwatch on an open field search. We shot the Kraft Challenge, which if you think you’re an MOA shooter think again as you’re only MOA from your belly. We shot the LA Sniper Standardization, 3×5 cards from the standing off hand, kneeling, and prone at 50 yards, because 100 would have been way too discouraging. The entire class was 300 rounds in 40 hours. In looking back at the class there is no way I could have accomplished and learned as much as I did without my equipment working flawlessly.
So lessons learned from the class. First you need to get a quality tripod that is at least chest high, seeing how I’m 6’4” tall that means at least 65” max length. The goal is to be standing as straight up as possible and square behind the rifle, so I need a tall tripod. Second, you need to have a place on the front of your rifle to place your support hand to really drive the rifle forward, much like you would an AR, when it’s on the tripod. You can touch the barrel, it won’t affect accuracy like you’d think but the barrel gets hot! For me this means I will be adding the Ultradyne bridge and the Ultradyne tripod with ARCA mount to my kit.
At the end of the day the last thing you want to do, as a shooter/instructor/student, is battle your rifle and equipment. This distracts from the entire process of either learning or teaching. For me this was a non-issue. The Ultradyne Chassis, having followed the installation instructions, provided me all week with a reliable rifle. I saw very expensive guns go down due to screws coming loose from the chassis, bolts getting locked open against the chassis, stocks coming loose. But not for me. The Ultradyne chassis was truly a game changer for my rifle. Between the built in ARCA rail, overall weight of the chassis, the ability to interface with a huge variety of stocks, this chassis is one of the overlooked secrets of the long range community.
Now at this point I might be sounding like an Ultradyne fanboy. Well, I am. It’s not often you find a company that is truly trying to make affordable solutions, even more so taking care of LEO’s. The staff at Ultradyne has been very responsive to answering my questions, and my random emails telling them how their product was performing. Too many companies could care less that I spent $350 with them, but Ultradyne has been very responsive to me. For me I’m not just buying a product that works, I want to buy into a company and culture that is bigger than just a “product.”
I truly hope more people will stop and give Ultradyne a solid opportunity when it comes to the long range game.